|
Capturing Sound |
|
Capturing Audio with
Sound Recorder This page shows you how to capture audio with Microsoft Windows Sound Recorder. Before beginning this tutorial, make sure your computer has the following components:
With these components, you should be able to record sound to your computer. Preparing to
Record:
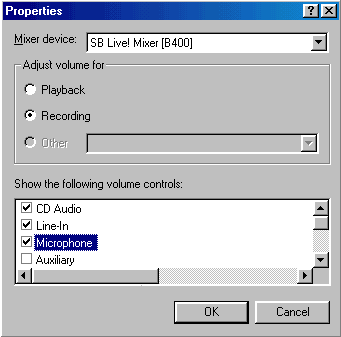
Make sure the microphone is plugged in. Check to see that it is activated through Volume Control. Select Start / Programs / Accessories / Entertainment / Volume Control. From the Options menu, select Properties. The Properties dialog box appears. Under Adjust volume for select Recording. New options appear under Show the following volume controls. Make sure that Microphone is selected and click the OK button.
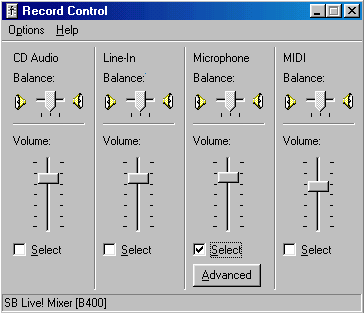
Adjust the volume slider under Microphone to somewhere within the upper half for optimal results. Also, make sure the Select box is checked under microphone so that this will be the recording source.
Close Volume Control and return to Sound Recorder. Recording Audio:
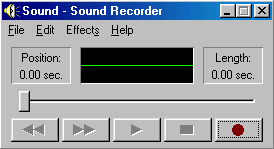
The moving green line in the center indicates that sound is being recorded. To stop recording, click the button with the black square on it.
Rewind the session by clicking the button with the two black leftward-pointing arrows on it.
Then click the play button with the single black rightward-pointing arrow to playback and review what you've just recorded.
If you aren't satisfied with what was just recorded, select File / New, don't save the changes, and try again. Saving Audio:
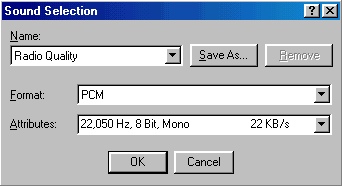
The Sound Selection dialog box appears.
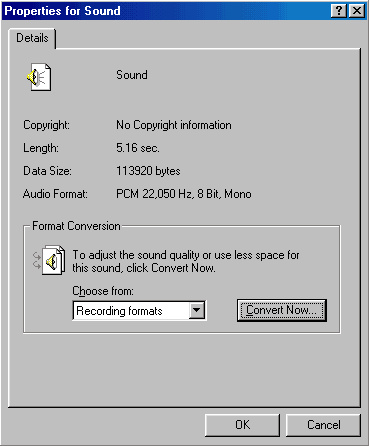
The pull-down menu under Name contains three pre-made settings to choose from: Telephone Quality, Radio Quality and CD Quality. You can select one of these or define your own settings by using the pull-down menus after Format and Attributes and then clicking the Save As button. The three pre-made settings, however, should be sufficient since they cover a broad spectrum of settings you may want to use.
Telephone Quality is the lowest setting which will produce the
lowest quality digital sound, but also the smallest sound file. Radio
Quality is in the middle with a better digital sound quality and
slightly larger sound file. CD Quality provides the best
digital sound, but there won't necessarily be a noticeable difference in
quality if you are capturing it with a computer microphone. Using the CD
Quality setting will make the sound file significantly larger (and slower
to download). Once you have selected a setting, click the OK button
and click the OK button again to return to Sound Recorder's main
area. To save the file, select File / Save from the menu, enter a
file name and click the Save button.
|
